9.1 External Covers
This section will instruct the correct procedure on how to remove and replace the External Covers.
Removal
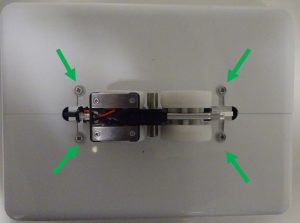
Step 1 – Using a Pozi Screwdriver, loosen the four screws (Arrowed), the screws do not need to be removed.
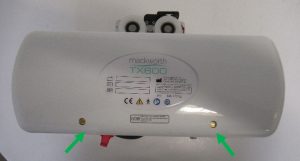
Step 2 – Use a slotted screwdriver to remove the two brass screws. (Arrowed)
Step 3 – Gently remove the cover away from the Hoist.

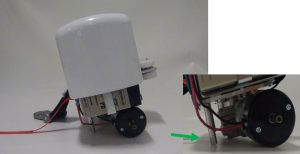
Step 4 – Rotate the Hoist 180 degrees and gently position the Hoist in the below orientation. Be careful positioning the Hoist on the Lift Motor.
Step 5 – Using a slotted screwdriver remove the two brass screws from the second cover. (Arrowed)

Step 6 – Gently remove the cover away from the Hoist.
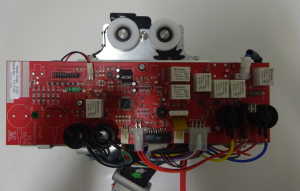
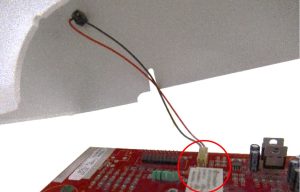
Step 7 – (Quick Release Trolley System Hoists only) – While removing the Cover, ensure to disconnect the charging lead from the PCB.
Refitting / Replacement
Step 8 – Refitting is a reversal of the removal process noting the following points:
1. Make sure the profile edge marries up with the bottom cover.
2. Ensure the slots on the top side of the cover align with pozi screws.
3. Ensure you fit the brass screws first on both covers prior to tightening the four pozi screws.