4.3.2 Installing TX Advanced – Constant Charge (Powered Traverse and Manual Traverse)
The images below refer to the track type 1 installation of a constant charge hoist, the process below should be followed for each track type installation as they are all installed in the same fashion.
To install the TX Hoist, follow the guidance below:
1. Complete all the relevant steps in section 4.1.
2. Complete all the relevant steps in section 4.2.
3. A step ladder is recommended for easier and safer installation.
4. Using both hands to support the Hoist, align the Hoist horizontally with the Ceiling Track entrance.
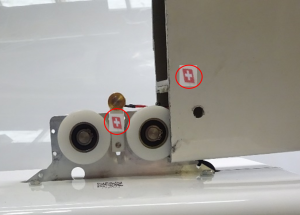
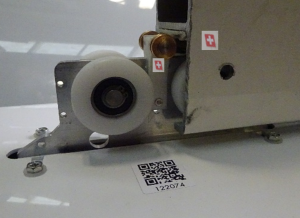
4. Ensure the positive symbol on the constant charge port is facing the same direction as the positive symbol on the pre-installed track. The symbols are circled.
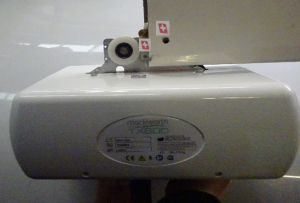
5. Carefully place the Hoist wheel assembly into the track without damaging the hoist components.
6. Using the wheels, slide the Hoist away from the end of the ceiling track for safety.

7. Reverse the Steps in section 4.1 to secure the ceiling track entrance. Fitting the end stop, safety bolt and end cap correctly.
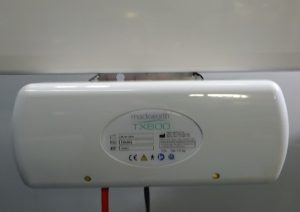
8. Hoist Installation Complete.
To remove the Hoist, follow the steps above in reverse.