9.5 Lift Motor
This section will instruct the correct procedure on how to remove and replace the Lift Motor.
Removal
Step 1 – Remove external covers of the Hoist. (refer to section 9.1)
Step 2 – Disconnect the power lead from PCB. (further information refer to section 9.2)
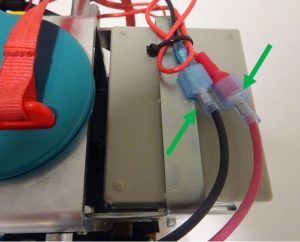
Step 3 – Remove one battery (shown in image below) following section 9.3.
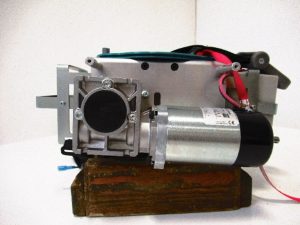
Step 4 – Position the Hoist in the below orientation, the use of the Service Stand is recommended.
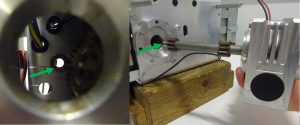
Step 5 – Disconnect the positive and negative leads to the motor. (Arrowed)
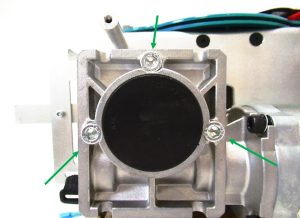
Step 6 – Use 5mm Allen key to remove the three bolts. (arrowed)
Step 7- Remove the Motor, by pulling away from the chassis.

Motor might be hot.
Refitting / Replacement
Step 8- Refitting is a reversal of the removal process noting the following point:
1. Ensure the motor aligns with the motor mount tapped holes.
2. Ensure the motor gear shaft lines up with the Oilite bush