4.1 Testing the Charger
Within this section it will explain the correct procedure on inspecting the charger for servicing procedures or replacement.
Step 1 – Isolate the charger from the power source. By unplugging the charger if available, if it’s mains fitted then isolate the power from the consumer unit (House Breaker).

Ensure the power is isolated before you start to test the charger

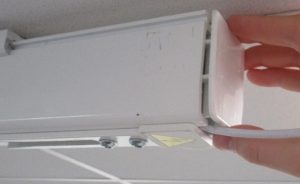
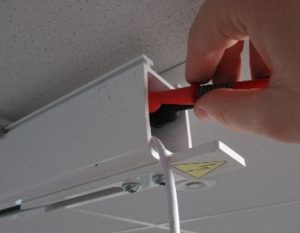
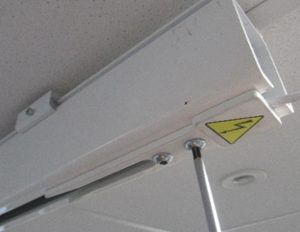
Step 2 – Remove end cap, ensuring not to damage the cap or the power cable.
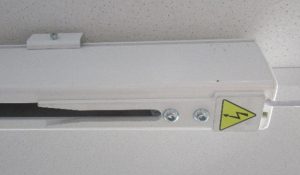
Step 3 – Check that both brass connector screws are in a good un-damaged state.

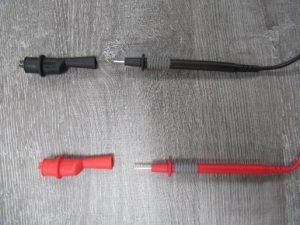
Step 4 – Connect the crocodile clips to the multi-meter probes.

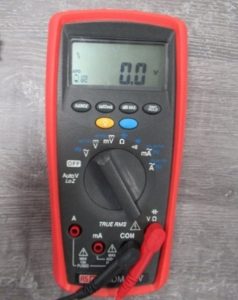
Step 5 – Make sure the unconnected multi-meter reads 0.0, if not you will need to zero the meter by using the zero button.
Step 6 – Unscrew both bolts on the charging dock.
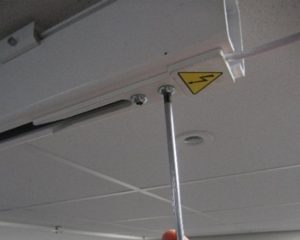
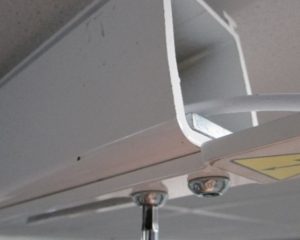
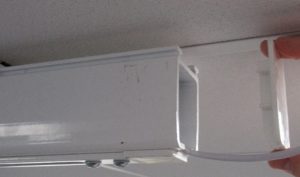
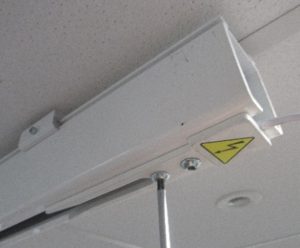
Step 7 – Slide the charging dock off the track till the top plate of the clamp is flush with the end of the track. Tighten the screws up to stop the charger moving during testing.
(If track is located near a wall or object, remove the charger at the other end and test on the bench)
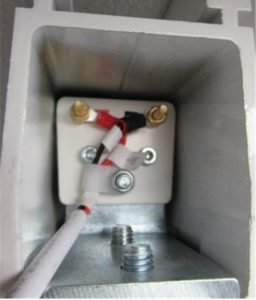
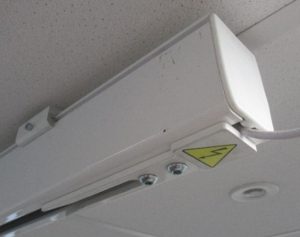
Step 8 – Identify the positive and negative connection screws.
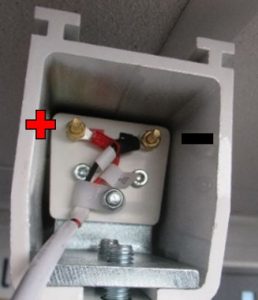
Step 9 – Attach the multi meter C clips, Positive terminal to positive test cable and negative terminal to negative test cable.

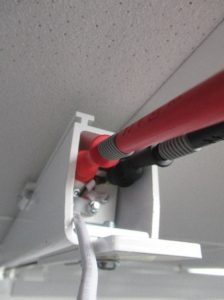
Step 10 – Check the results on the multi-meter, The Reading MUST Be between 27v -28v. if it’s not the charger should be removed and must be replaced.

Step 11 – Remove the C clips off terminals.

Step 12 – Loosen both charger screws

Step 13 – Slide the charger back to its original place and re tighten the screw to secure it in place.
Step 14 – Replace the end cap and secure in place by lightly tapping it in.

Step 15 – Un-isolate the power source and check it the charging dock is working properly.